Aisle Do: DIY Your “Just Married” Sign
In this column, Ernest Pascual of Bespoke Manila talks about how to DIY your “Just Married” sign. With the help of Adrian Ardiente for photos, Ernest shows you how to add these personalized touches for your wedding.
Our aim is to give you and other soon-to-wed couples ideas on how you can personalize your wedding by doing simple do-it-yourself (DIY) projects. We also want to help you create some lovely details to make your wedding extra special. We will tell you what materials to source, the step-by-step procedure, and how the details we have designed look during an actual wedding.
The “Just Married” Sign
With some buttons, scrap lace, and acrylic jewels, create this lovely signage worthy of a couple’s portrait after the ceremony.
Here’s what you need:
• Printed “Just Married” sign
• Buttons
• Jewel stickers
• Lace
• Glue gun
• Glue stick
• A pair of scissors
• Cutter
• Cutting mat
• A pair of pliers
• Ruler
• Double-sided tape
• Illustration board
• Ribbon
Here’s how to do it.
Step 1: Attach the printed “Just Married” sign onto the illustration board using the double-sided tape.

Step 2: Cut the excess illustration board using the cutter, ruler, and cutting board.

Step 3: If the buttons you are using have hooks, remove them using the pair of pliers.

Step 4: Glue the lace onto the front and back of the “Just Married” sign to serve as handles.

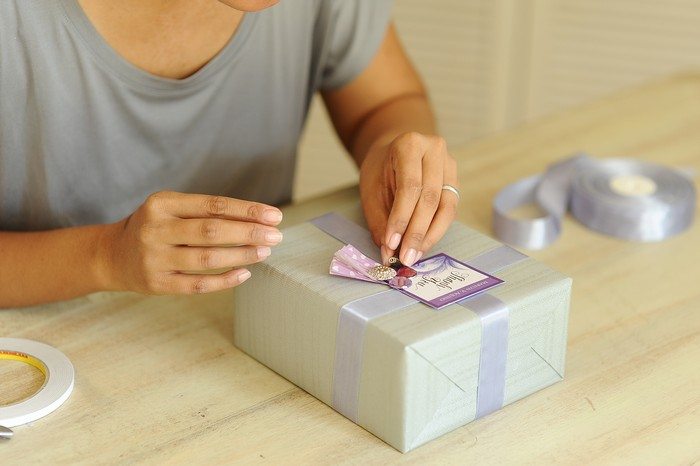
Step 5: Decorate the sign with assorted buttons.
The end result:
Bespoke Tip: Try to be consistent with all the details you create for your wedding. Using the same font, graphics and color scheme will help you achieve a more harmonious and visually appealing wedding reception spectacle.
Read more of Ernest Pascual’s Aisle Do articles at weddingsatwork.com/category/aisle-do/.


